What Does the Red CPU Light On a Motherboard Mean?
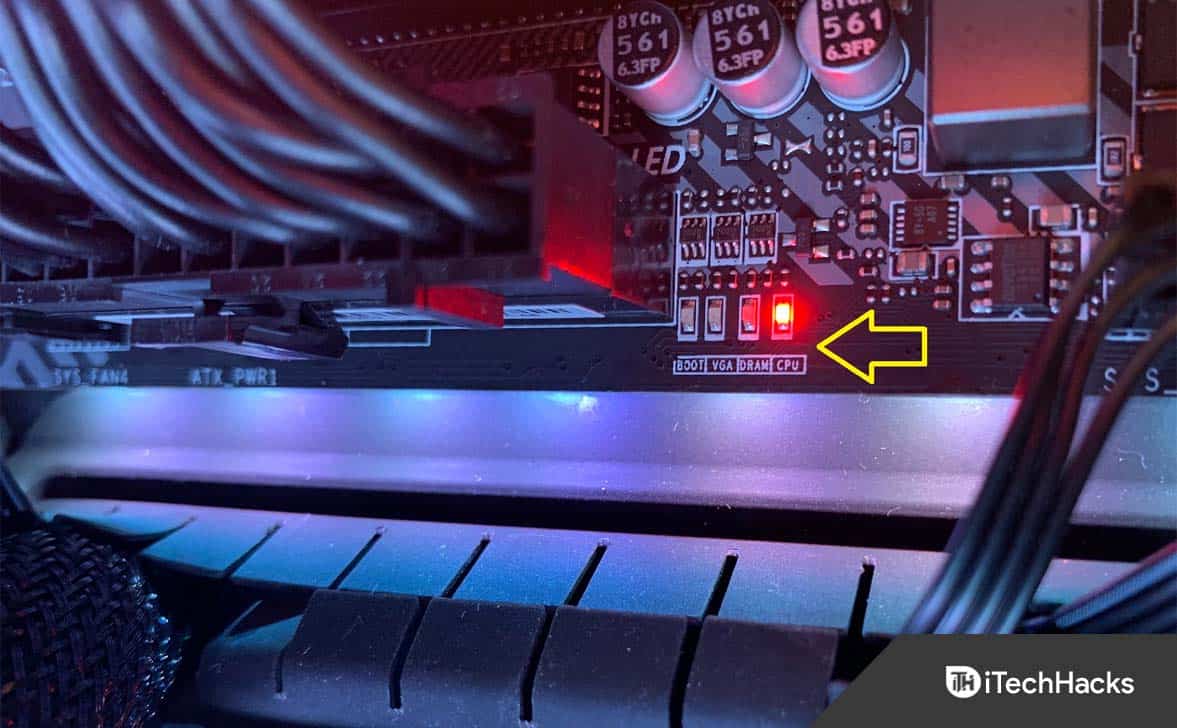
Many people get worried when they see the red light on their motherboard, and most assume that it has something to do with their CPU, that they didn’t properly place their CPU, or something along those lines. However, in our experience, this is rarely the case, and more often than not, the problem lies with other components that are either faulty or not properly placed/connected.
1 What Does the Red CPU Light On a Motherboard Mean?2 What do If My CPU Shows a Red Light?3 How To Fix The Red CPU Light On A Motherboard3.1 Fix 1: Start With the Basics3.2 Fix 2: Do a RAM Fault Check3.3 Fix 3: Make Sure Your PSU Is Competent3.4 Fix 4: Reset and Clear the CMOS3.5 Fix 5: Remove and Check the Processor3.6 Does the Red Light Mean Your Motherboard is Dying?3.7 The Bottom Line
When a solid red light illuminates the motherboard, it’s usually because the board failed to boot properly and needs to be replaced or because a component isn’t properly plugged in. There could be booting problems or other problems with the system. Therefore, keep reading this guide, and try the fixes we suggest, as they will usually resolve any issue. Contact technical support to help determine if there is a hardware problem and resolve any potential warranty conflicts if the solutions we suggest do not work or if you do not feel confident trying them yourself. If your motherboard has a label reading “CPU” with a red light above or beneath it, then it may be a problem with the processor; otherwise, it is likely to be an issue with another component; in this case, please try the other fixes we will mention after trying the ones we will mention below, which are specific to the CPU.
What do If My CPU Shows a Red Light?
If your motherboard is showing a red light with a CPU label on it, here are a few things you should try to fix it:
How To Fix The Red CPU Light On A Motherboard
There are a few things you can do to diagnose and fix the problem if your motherboard simply flashes a red light and has labels on it to identify exactly what component is malfunctioning. The first thing to do when troubleshooting a computer is to figure out what kind of problem was detected upon startup, such as a faulty power supply, memory error, fan problem, etc.
Fix 1: Start With the Basics
For basics, you should try rebooting your PC directly using the power button on the motherboard. Since you are seeing the motherboard’s red light, that means you have already opened the PC. If you are using an AMD CPU, pull out the cooler and clean the fans and check whether the issue is resolved. Also, check for overheating. If you have previously overclocked your CPU, make sure that it is cool now so that you turn on your PC and check. If you are using an intel CPU, chances are your thermal paste has dried up, or the fans are tucked incorrectly. After checking your CPU cooler, see if your CPU is properly aligned and the locks are secured. In case this doesn’t help, move on to the next fix.
Fix 2: Do a RAM Fault Check
If you are unsure what has happened to your motherboard, it is always a good option to check the RAM. Random Access Memory is the most important part of a PC after the processor. So, it is very important that they are working correctly. If you have two RAM modules, take out 1 and try rebooting your PC to check if the Red light is still on. However, if you have only one RAM installed, you can remove that RAM, clean it with isopropyl alcohol, and put it back in to check. If your PC is working just fine with 1 RAM, be sure that the other RAM is faulty, and you need to get it replaced. Now, if both the RAMs are in good condition and you are still seeing the Red light on your motherboard, move to the next fix.
Fix 3: Make Sure Your PSU Is Competent
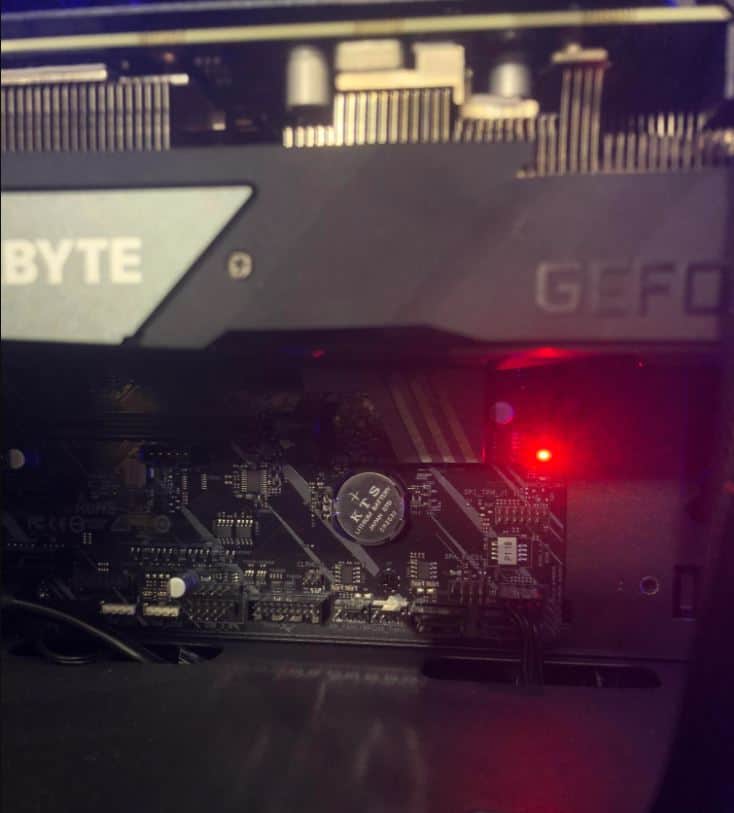
It is possible that your PSU is unable to supply power due to its capacity correctly. As a result, you need to check your components and the PSU to see if it is adequate. In that case, you can try removing the graphics card because it is the one that uses the most power. Once you have removed your graphics card, try turning on your PC and check whether the red light is appearing. If not, you need to buy a new PSU and connect everything to check. If this didn’t help you, there’s probably something else. Move on to the next fix.
Fix 4: Reset and Clear the CMOS
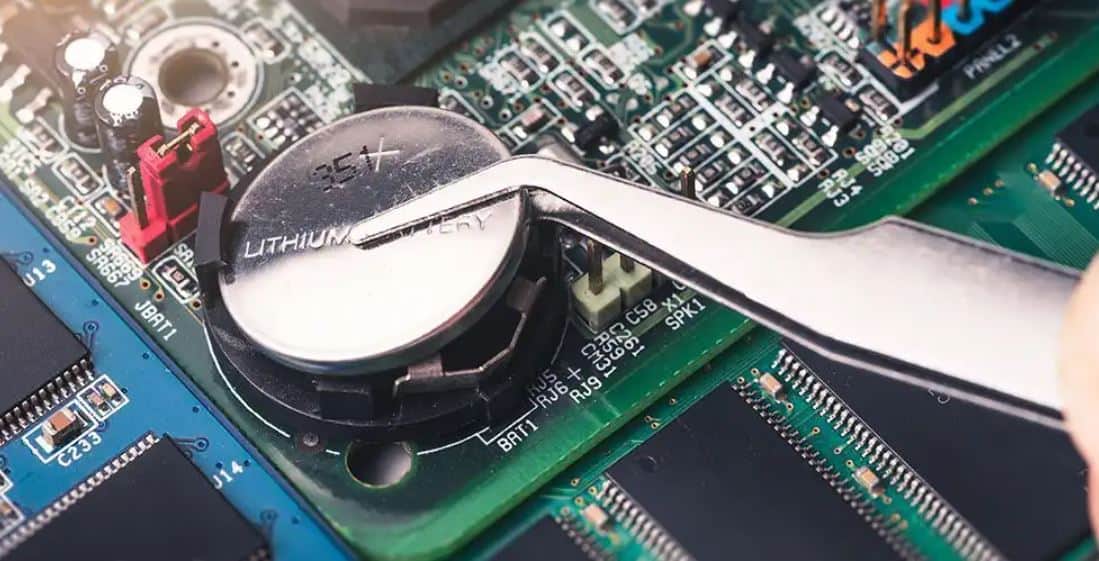
When you open the motherboard, you might see the silver-colored battery cell on it. This battery is known as the CMOS battery. CMOS stands for complementary metal oxide semiconductor. This battery is responsible for keeping your PC and its many equipments functional. In order to reset and clear CMOS, you can purchase a new battery. The model number is CR2032. This battery is widely available everywhere. However, if your battery is in good condition, you can remove it and plug it back in after 5 minutes and check if everything si working fine. Again, if this didn’t help you, try the next fix.
Fix 5: Remove and Check the Processor
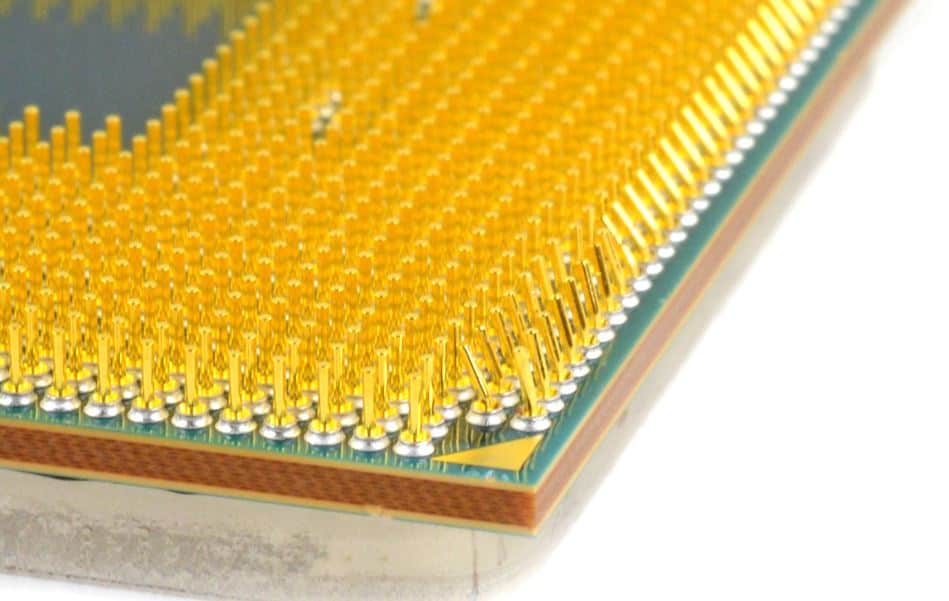
It is unlikely that all the mentioned fixes haven’t helped you till now. Now that this is the last fix, we suggest you remove the CPU cooler again, and unplug the processor. Take a magnifying glass and take a closer look at all the CPU pins. There’s a high possibility that one or two of your CPU pins have bent. After taking a closer look, if you notice this, you need to contact your CPU’s service center immediately and take it to them so that they can fix this. In our experience, CPU pins can be repaired in some cases, but most likely, they are not covered under warranty. This is because CPU pin damage is purely mishandling, and you are looking at a high bill, probably a new CPU.
Does the Red Light Mean Your Motherboard is Dying?
First of all, if the red light is marked as the CPU light, it may not be a sign of your motherboard dying. However, if everything is fine, even the CPU, but your motherboard is still showing the light, it certainly means your motherboard is in trouble. If your motherboard is showing signs of dying or failing, the best way to diagnose the problem is to use the methods outlined in this article. If you have trouble booting, you should remove any unnecessary peripherals from the board. If the computer still won’t boot or POST, the problem is almost certainly with the motherboard or the power supply. It is the power supply, almost always. However, even after replacing the power supply, the computer will not boot when the motherboard is at fault. Damage to the board, such as burned or defective headers, transistors, and other components, may occasionally be detectable. In contrast, a board that a static shock has killed will shows no signs of damage.
The Bottom Line
Well, that’s all we have here about how you can fix the red CPU light on the motherboard. We hope this guide has helped you. Unfortunately, if none of the above work, please double-check that you did everything exactly as described, and try unplugging and reconnecting each component to see if the red light goes out. In that case, you might want to contact a local IT professional for assistance before giving up on the device altogether. Without having to send it out for repairs, they may be able to figure out what’s wrong and fix it on the spot. RELATED GUIDES:
How to Fix 0x887A0005 in Modern Warfare 2How to Fix Facebook App that Won’t Open, Doesn’t Work on Your iPhoneFix Path of Exile Unexpected Disconnection ErrorHow To Fix VT-X is Not Available (verr_vmx_no_vmx) in Virtual MachineHow to Fix GTA 5 Rockstar Game Services are Unavailable Right NowHow to Fix Spotify Wrapped 2022 Not Working
Δ