Fix Skype Keeps Crashing On Windows 11
In this article, we will cover how to resolve the issue where Skype continues crashing on Windows 11 computers.
1 Fix Skype Keeps Crashing On Windows 111.1 Run Windows Store Apps Troubleshooter1.2 Install Media Feature Pack1.3 Reset The Skype App1.4 Reinstall Skype2 Final Words
Run Windows Store Apps Troubleshooter
The very first thing that you should try doing is running the Windows Store Apps troubleshooter. This should most probably fix the issue you are facing with the Skype app, and you should be able to run it without any issue. To run Windows Store Apps troubleshooter, follow the steps given below-
Open the Settings app on your PC by pressing the Windows + I key combo.
In the System section, click on the Troubleshoot option on the right side. Here, click on the Other Troubleshooters option.
Click on the Run button next to the Windows Store Apps to run the Windows Store Apps troubleshooter. Now follow the on-screen instructions and the issue should be fixed.
Install Media Feature Pack
Another troubleshooting step to fix Skype crashing on Windows 11 is installing the media feature pack for Windows 11 N. Follow the steps given below to install the Media Feature Pack for Windows 11 N-
Press the Windows + I key combo to open the Settings app.Head to the Apps section on the left sidebar of the Settings, and then on the right side click on the Optional features.
On the next page, click on the View Features option that you will find next to the Add an optional feature option.On the next screen, search for Media Feature Pack and then click on Next. Click on the Install button next to the Media Feature Pack feature to install it.
Reset The Skype App
The next thing that you can do is try resetting the Skype app. You may encounter the issue due to some bugs on the Skype app, therefore you should try resetting the app. To reset the app, follow the steps given below-
Press the Windows + I key combo to open the Settings app on your PC.Now on the left sidebar, click on the Apps section, and then on the right sidebar click on Apps & features. Search for Skype in the App list. Click on three ellipses right next to the Skype, and then click on Advanced Options from the menu that opens up.
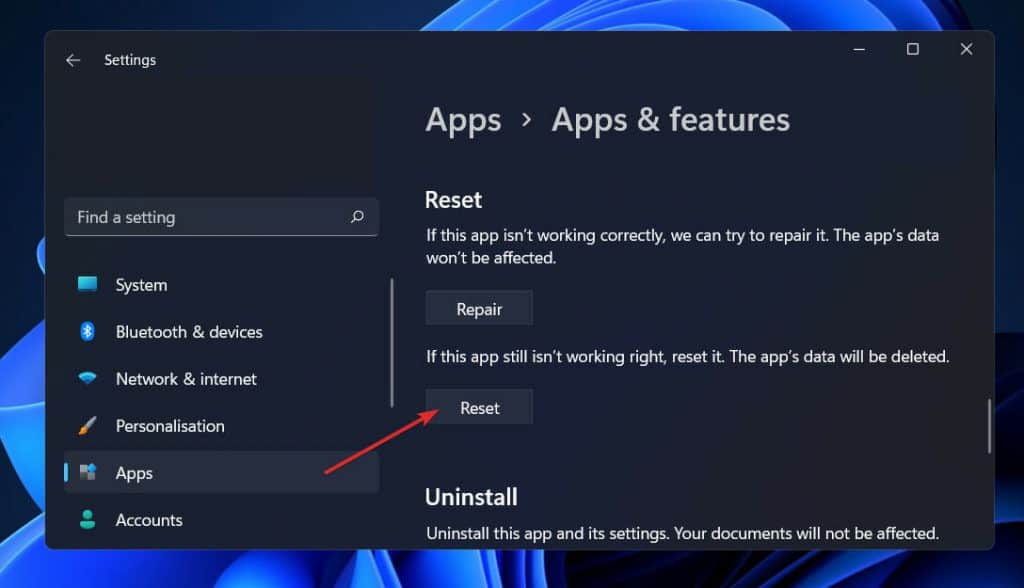
Head to the Reset section in the Advanced Options, and then click on the Reset button here.
This will reset the app to the factory default settings. This should most probably fix the issue that you are facing with Skype on Windows 11.
Reinstall Skype
If you are still unable to fix the issue you are facing with Skype, then the last resort will be to reinstall Skype. To do so, follow the steps given below-
Open the Settings app on your PC. You can do so by pressing the Windows + I key combo.Next, click on the Apps section on the left sidebar, and then on the right side click on the Apps & features. Search for Skype in the list of apps, and then click on the three ellipses you see here. Now from the menu that opens up, click on the Uninstall button.After doing so, download the Skype and then reinstall it on your PC. Setup Skype on your PC, and you should be able to use it thereafter.
RELATED GUIDES:
How To Fix Command Prompt Not Working On Windows 11How To Delete Restore Point In Windows 11How To Fix IRQL_NOT_LESS_OR_EQUAL Error In Windows 11
Final Words
This is how you may resolve any and all of the troubles you are experiencing with Skype. If Skype keeps crashing on Windows 11, you may usually fix the problem by following the methods outlined in this article. If the problem persists, you can contact Microsoft support for further assistance.
Δ